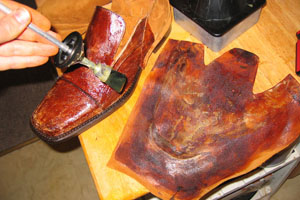
Step 3: Adding the front (or toe)
Now that your heels have been completed, now comes the fun part, adding
the toe!
Again, remember to glue both sides, and dry. Once the pieces are ready, start from the top slope, and press it firmly to the toe of the shoe. Once that is down nice and tight, you can start stretching each side tightly down, one at a time. You shouldn't have to worry about any areas wrinkling up on you, as the suede has some stretch to it. The tighter you pull it across, the better it will look.